 Sudden Valley Window
 Replacing windows is one of those projects homeowners often put off simply because they don't know what to expect. How long does it take? What happens to the old windows? Will there be a hole in the wall overnight? This page walks through the window replacement process from first measurement to final walkthrough, with an eye toward what's different about doing this work in Sudden Valley and the rest of Whatcom County, where salt air off the lake, driving rain, and a long moss season put real demands on how windows get installed and sealed.
Step 1: The In-Home Assessment and Measurement
Every legitimate window replacement starts with someone standing in front of your actual windows, not estimating from a photo. A proper assessment covers three things: the condition of the existing frame and sill, the rough opening dimensions, and how water currently moves around that opening (or fails to). In older Whatcom County homes, especially those with original wood-frame windows, it's common to find soft or rotted sill material hidden under paint that looks fine from a few feet away. This is why the assessment should include gently probing the sill and lower frame corners, not just eyeballing them.
Measurements are taken for what's called the rough opening — the actual framed hole in the wall — separately from the visible window size. Replacement windows are ordered to fit the rough opening with room for shimming and sealant, not cut to match the old sash exactly. Getting this wrong is one of the most common causes of delays later in the process, so this step is worth doing carefully rather than quickly.
What we're checking for at this stage
- Rot or water staining at the sill, jambs, or header
- Whether the opening is square, or has settled out of true over the years
- Existing flashing or house wrap condition around the opening
- Interior trim and casing that will need to be removed or matched
- Any signs of past moisture intrusion — a real concern given how much driving rain this area gets in fall and winter
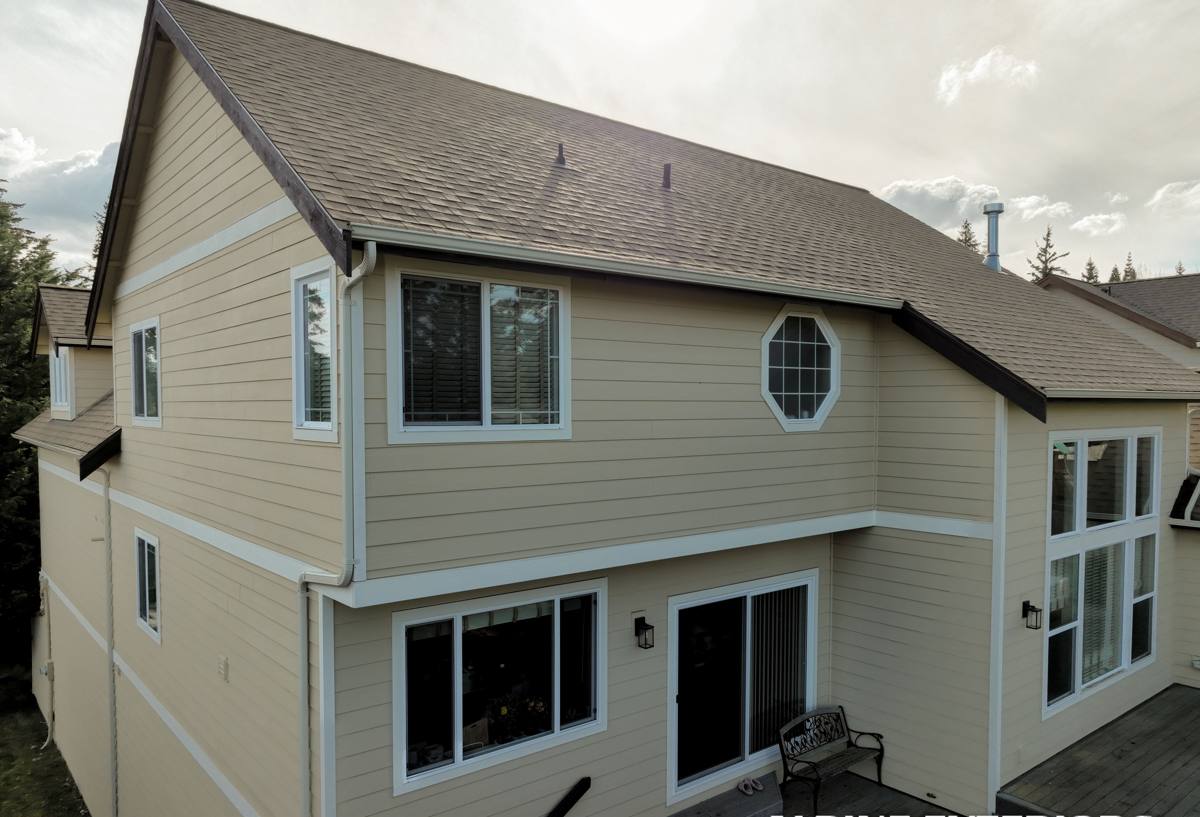
Step 2: Choosing Materials and Glass
Once measurements are confirmed, the next decision is frame material and glass package. This is where most of the actual cost variation in a window project comes from, and it's worth understanding the trade-offs rather than just picking whatever's cheapest per unit.
| Frame Material | Typical Lifespan | Maintenance | Notes for This Climate |
|---|---|---|---|
| Vinyl | 20-30 years | Low — no painting, occasional cleaning | Good moisture resistance; most common choice locally for cost and upkeep |
| Fiberglass | 30-40+ years | Low | More dimensionally stable in temperature swings; higher upfront cost |
| Wood-clad | 25-35 years | Moderate — exterior clad protects wood, but seals and joints need periodic checking | Interior wood look; exterior cladding needs to be genuinely sealed against driving rain, not just cosmetic |
| Aluminum | 20-30 years | Low | Conducts cold and can condense more in our damp winters; less common for full-home replacement here |
On glass, double-pane with low-E coating and argon fill is the standard baseline for this region — it's not an upsell, it's what performs reasonably in our winters. Triple-pane adds cost and weight for a modest efficiency gain, and makes more sense on north-facing or noise-exposed walls than as a blanket choice for every opening.
Step 3: Ordering and Lead Times
Windows are almost always custom-ordered to the measured dimensions, which means there's a manufacturing lead time before installation can even be scheduled — often several weeks depending on the manufacturer and the specific product line. This is worth planning around, especially if you're timing a project around a season change. It's also the point where a written order should be double-checked against the measurements and material choices before it goes to production, since correcting a wrong order after manufacturing starts is far more disruptive than catching it beforehand.
Step 4: Prepping Your Home for Install Day
A little preparation on the homeowner's end makes install day faster and cleaner. Interior window treatments, nearby furniture, and anything fragile on sills or shelves near the work area should be cleared. Outside, a clear path to each window opening — trimmed shrubs, moved patio furniture, accessible driveway space for the crew — matters more than people expect, particularly on properties with mature landscaping, which is common around Lake Whatcom.
Simple pre-install checklist
- Clear a 3-foot work zone inside and outside each window
- Remove blinds, curtains, and anything hanging in front of the glass
- Move vehicles to allow crew access and material staging
- Set aside pets in a separate part of the house during work hours
- Note any interior trim or paint you want preserved versus replaced
Step 5: Removal — What Happens to Your Old Windows
Windows are typically replaced one opening at a time, not all at once, so your home isn't left fully open to the weather. The old sash and frame are removed carefully to avoid damaging the surrounding wall material, and this is the point where hidden problems — rotted framing, missing or degraded flashing, gaps in insulation — become visible and get addressed before the new window goes in. Covering up a rot problem instead of repairing it is exactly the kind of shortcut that causes callbacks a year or two later, so this step should never be rushed.
Step 6: Installation, Flashing, and Sealing
This is the step that determines whether a window performs well for the next twenty years or starts leaking within a few winters, and it's where climate matters most. In an area that gets sustained driving rain and long stretches of damp, moss-friendly weather, the flashing and sealant details around a window opening carry more weight than the window unit itself.
Proper installation includes a sloped sill pan to direct any water that gets past the exterior seal back outside rather than into the wall cavity, correctly lapped flashing tape that integrates with the house wrap above and below the opening, and low-expansion foam or backer rod plus sealant around the frame perimeter — not just a bead of caulk on the outside trim. Shimming the frame square and level, then fastening it without over-compressing the frame, keeps the window operating smoothly and keeps the seal intact over time.
Why this step gets extra attention locally
Salt-laden air off the water can accelerate corrosion on lower-quality fasteners and hardware, and prolonged damp conditions are exactly what allow moss and organic growth to establish in any gap where water sits instead of draining. Windows installed with proper drainage paths and quality fasteners hold up; windows installed with shortcuts show problems specifically in wet years, which this area has no shortage of.
Step 7: Interior and Exterior Finish Work
Once the window is set and sealed, interior trim is reinstalled or replaced, and any disturbed drywall or paint is touched up. On the exterior, trim and casing are finished and caulked, and siding or trim that was removed for access is reinstalled. This is also when the crew checks that the window operates correctly — opens, closes, and locks smoothly — before calling the opening complete.
Step 8: Final Inspection and Walkthrough
A good installer walks every finished window with you, not just the last one on the list. That means checking operation, confirming locks engage properly, inspecting the interior and exterior seal lines, and making sure the work area has been cleaned up — old glass and frame material hauled away, not left stacked against the house. Any manufacturer warranty paperwork should be provided at this point, along with a plain explanation of what it covers and what it doesn't.
Caring for New Windows in This Climate
New windows in Whatcom County still need some seasonal attention. Weep holes at the base of the frame should be checked periodically to make sure they aren't blocked by dirt or moss buildup, since those small openings are what let incidental water drain back out. Exterior caulk lines are worth a visual check once a year, typically in fall before the heavy rain sets in, since sealant is a wear item even when everything else about the window is sound. Keeping gutters and downspouts clear nearby also reduces how much water runs directly down a wall and across a window opening during heavy storms.
What Can Cause Delays
Most project delays trace back to a handful of predictable causes: manufacturing backorders on a specific size or color, weather windows that make exterior sealant work unreliable, or hidden framing damage discovered during removal that needs repair before the new window can go in. None of these are reasons to skip steps — they're reasons to build a little flexibility into the schedule and communicate clearly when something needs an extra day to do right.
If you're weighing a window replacement project in Sudden Valley or elsewhere in Whatcom County, we're glad to walk your home, look at what's actually going on with your current windows, and put together a straightforward, no-pressure estimate — just fill out the form below.