 Sudden Valley Window
 Getting Windows Right the First Time in Happy Valley
If you're building new in the Happy Valley area near Sudden Valley, you have one chance to install windows correctly from the framing stage forward. Once siding, trim, and interior finish work are closed in, fixing a flashing mistake or a poorly sealed rough opening means tearing back into finished walls. New construction is the cheapest and easiest point in a project's life to get the water management right — and in this part of Whatcom County, water management is the whole ballgame.
We build new-construction window packages for homes in this area with that in mind: correct flashing sequence, correct fastening, and window products matched to a climate that does not go easy on gaps or shortcuts.
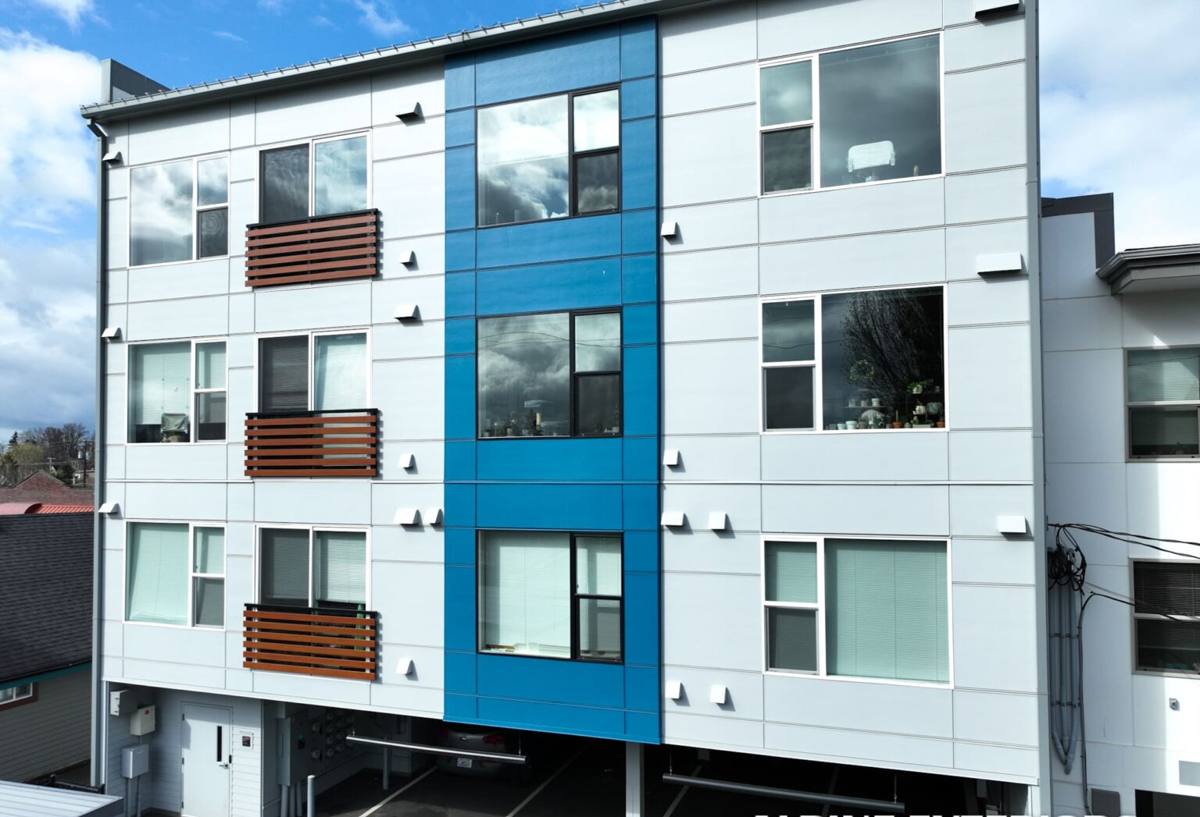
What This Climate Asks of a New-Construction Window
Homes in and around Sudden Valley deal with a specific combination of conditions: marine-influenced air moving inland off Bellingham Bay and Puget Sound, wind-driven rain events that hit walls at an angle rather than straight down, and long stretches of shaded, damp weather that keep moss and algae established on exterior surfaces most of the year. None of that is unusual for western Whatcom County, but it does mean a window system built to a generic national spec often underperforms here.
Wind-Driven Rain and Flashing
Straight-down rain is easy to shed. Wind-driven rain pushes water sideways and upward under laps that would otherwise stay dry, which is exactly why flashing sequence matters more here than in drier climates. Every layer — sill pan, jamb flashing, head flashing, and the water-resistive barrier — has to lap the one below it like shingles, with no reverse laps and no gaps at the corners. Get that sequence wrong and the failure doesn't show up on day one; it shows up as a soft spot in the wall two or three winters later.
Moss, Shade, and Long-Term Drainage
Many lots in this area carry mature tree cover, which keeps window exteriors shaded and slower to dry after a storm than a window on an open, sun-exposed wall. That extra dwell time is what lets moss and green algae take hold on sills, tracks, and exterior trim. A correctly installed window sheds water off the sill quickly and keeps weep paths clear; a poorly installed one holds a film of moisture against the frame long enough for organic growth to get a foothold, which then traps even more moisture. Window and trim selection, sill slope, and clear weep paths matter as much as the glass itself.
New-Construction Install vs. Retrofit: Why the Method Matters
New-construction windows (often called nail-fin or flange windows) are installed before siding goes on, with a nailing flange that gets integrated directly into the wall's water-resistive barrier. That's a different job, done at a different stage, than a retrofit or pocket replacement window installed into an existing finished wall. Confusing the two — or having a crew install a new-construction window using retrofit shortcuts because it's faster — is one of the more common ways new builds end up with hidden flashing gaps.
| Aspect | New-Construction (Nail-Fin) Install | Replacement/Retrofit Install |
|---|---|---|
| When it happens | Before siding, at the framing/dry-in stage | Into an existing finished wall |
| Flashing integration | Flange ties directly into the WRB, full four-sided flashing | Relies on existing wall flashing, which may already be compromised |
| Best suited for | New builds and full wall-to-stud remodels | Existing homes where siding stays in place |
| Labor/cost driver | Coordination with framer and siding crew timing | Careful removal without damaging surrounding finish |
For a home being built new in Happy Valley, the nail-fin method is the correct approach almost every time — it's the only method that lets us build a continuous, lapped water barrier from the ground up rather than working around what's already there.
Coordinating With Your Builder: Timing and Tolerances
Rough Openings and Framing Tolerances
Windows are ordered to specific dimensions, and the rough opening the framing crew builds has to match those dimensions within a tight tolerance — typically a small margin for shimming, not inches of slack. We review window schedules against framing plans before openings are built, not after, so nobody is cutting header height or trimming a rough opening on-site to make a window fit. That coordination step alone prevents most of the delays we see on new builds.
When Windows Go In the Build Sequence
Windows go in after the roof is on and the wall is dried in with housewrap or an equivalent water-resistive barrier, and before siding closes the wall up. Interior-side sealing and insulation around the frame happen before drywall. Missing that sequence — siding going on before flashing is finished, or drywall closing up a frame before it's properly sealed and insulated — is how gaps get buried inside a finished wall instead of caught and fixed.
What a Correct Installation Actually Involves
Flashing and Water-Resistive Barrier Integration
A correct install starts with a sloped sill pan so any water that does get past the glass or frame drains back outside rather than pooling at the bottom of the rough opening. Jamb flashing and head flashing lap over that in the right order, and the head flashing tucks up under the housewrap above the opening — never over it. This is the single detail that separates a window that will hold up through a Whatcom County winter from one that won't.
Fastening, Shimming, and Sealing
The window has to sit square, level, and plumb in the opening, shimmed at the manufacturer's specified points so the frame doesn't rack or bow under fastener pressure. Fasteners go where the manufacturer's instructions call for them — not more, not fewer — because over-fastening can distort a frame and interfere with the way it's designed to drain. On the interior, we seal and insulate the gap between frame and rough opening without over-packing it, since a fully airtight gap with no room for the frame to move seasonally can cause its own problems.
Choosing Frame Material and Glass for This Site
Vinyl, fiberglass, and wood-clad frames all handle this climate differently, and the right call depends on the specific wall, exposure, and budget for the home. As a general standard, we lean toward low-maintenance frame materials and finishes on walls with heavy shade or tree cover, since those walls stay damp longest and get the least natural drying between rain events. Wood-clad frames can look excellent on a new build, but they carry a higher maintenance burden on a shaded, damp wall than a well-made vinyl or fiberglass unit — that's a trade-off we'll walk through honestly rather than sell around.
On glass, dual-pane units with the appropriate low-E coating and gas fill are standard practice for new construction here and are what Washington's state energy code expects for new-home glazing. Tempered safety glass is required in specific locations — near doors, low to the floor, in stairwells — and we account for that in the window schedule before ordering, not after an inspector flags it.
Our Process for Happy Valley New-Construction Projects
- Review the window schedule and framing plans against the actual build, before rough openings are framed
- Confirm sizes, swing/operation types, and glass requirements with the builder and homeowner
- Order windows with enough lead time to avoid holding up the framing or dry-in schedule
- Coordinate the install date with the framer and siding crew so flashing sequence isn't rushed
- Install with full four-sided flashing integration into the wall's water-resistive barrier
- Walk the finished install with the builder before siding closes the wall, and again at final walkthrough
That sequence is the same whether it's a single custom window or a full house package — the goal is catching any mismatch between plan and site before it's buried in a finished wall.
Why a Crew That Already Works This Area Matters
A crew that regularly works new builds around Sudden Valley and Happy Valley has already seen how the local lot conditions play out — shaded sites that stay damp longer, storm patterns that drive rain at an angle most builders in drier regions don't plan for, and the kind of tree cover that makes moss a real maintenance factor rather than a cosmetic footnote. If your lot falls under a homeowners' association or community design review, we'll also work within whatever exterior guidelines apply rather than treating that as an afterthought once windows are already ordered. Familiarity with those local realities is what keeps a new-construction window package from being a generic install dropped into a site it wasn't really planned for.
What to Expect in the First Few Years
New construction settles. Framing dries out and shrinks slightly over the first year or two, which can open small hairline gaps in interior trim or exterior caulk lines even on a correctly installed window. That's normal — it's not a sign of a bad install, but it does mean a little homeowner attention in year one and two goes a long way.
- Check weep holes along the bottom of the frame each fall and clear any debris or moss before winter rains start
- Inspect exterior caulk lines annually and re-seal any hairline gaps that open up as the house settles
- Wipe down sills and tracks on shaded windows periodically to keep moss and algae from getting established
- Watch for any soft spots or discoloration on interior trim near windows, which can signal a flashing issue worth catching early
- Keep gutters and downspouts clear so roof runoff isn't running down the wall directly above window openings
If you're planning a new build in the Happy Valley area and want windows specified and installed correctly from the framing stage on, we're happy to walk your plans and give you a straightforward, no-pressure estimate — just fill out the form below.